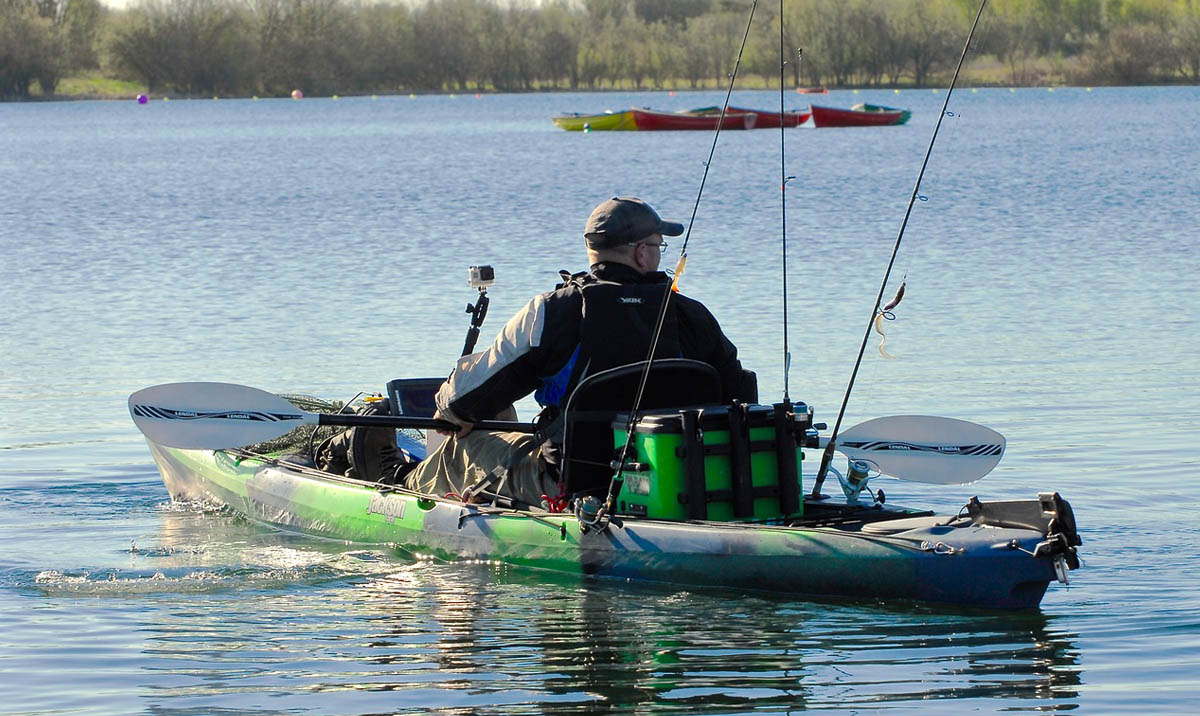
Ready and Rigged for Kayak Fishing
Before fishing-specific kayak models were available rigging a kayak for fishing was a creative do-it-yourself process where a little ingenuity, a milk crate, and some bungee cords went a long way. Although designs have evolved to offer more fishing-friendly features and storage options, it is still an art form that is primarily driven by personal preference and convenience.
Everyone?s idea of the perfect rigging and equipment is different. Some folks like to take everything but the kitchen sink and others are minimalists taking a few bare essentials. Most kayakers are somewhere in the middle and figuring out what equipment you need is best accomplished by starting small and adding accessories incrementally.
Let’s start with the basics, the paddle and seat. Since you?re going to be sitting most of the time it is well worth spending the extra dollars to get a nice comfy seat with good back support — my favorite is the high-backed gel padded Surf2Summit GTS Elite series. Since the paddle is essentially the prop (you are the engine) a lightweight carbon fibre paddle in the 220-240cm range is perfect for most anglers. Since the paddle is going to be your connection to the water all day it is one of the items you should spend the extra dollars on to get a quality unit. And don’t forget a paddle leash ? no one wants to be up a creek without a paddle!
Now we need to make this kayak a fishing kayak — and that means first adding rod holders and storage. Before the advent of fishing kayaks with internal hatches a milk crate situated behind the paddler in the tankwell was THE hatch, and it is still a great addition. Rod or net holders can be mounted in or on the milk crate, and it?s a great place to put all sorts of gear including tackle boxes, bait pumps, PFDs, fish measuring devices, fish grips, bug spray, ThermaCELL, sunscreen, and dry bags.
Beyond mounting on the milk crate there are numerous ways to manage your rods. Flush mount rod holders work well behind the angler, while mounts with articulating rod holders like the ones from RAM and Scotty are great both behind and in front of the angler mounted in the center of the footwell or on a console.
Anchoring tackle is another key accessory. Personally I prefer to use a stake-out pole rather than an anchor because in most situations I can find 3-5ft of water to stake-out in. While you can purchase a commercial stake-out pole for up to $70 I’ve always preferred the old $5 broomstick — it floats, fits in scupper holes, and you can easily make a camera mount by embedding a 1/4″ set screw in the top for self pictures. In deeper water a 1.5-3lb anchor usually does the job and a small cleat on the kayak is sufficient for tying off. Anchor trolleys enable you to control the anchor point and orientation of the boat using a rope system that runs the side of your kayak with micro-pulleys and a carabiner clip.
So now that the boat is set what about your fishing tackle? Tackle flats like the units from Plano with a waterproof seal work well either in an interior hatch or a milk crate. An easily accessible landing net, long nose pliers, and cutters/scissors are handy items and can be tethered via leashes and retractors as fits the angler.

